First and foremost, I dont know anything about the crossbone manga, but I just love the design of this MS. Ive been craving to have my self a crossbone gundam... and since the MG is too pricey for me, and heard the release of the crossbone in HG line.. I got pretty excited.. and oh boy...this kit is a total bad ass...without further ado... lets look on this kit.

PLATES
Total of 11 plates together with the polycaps, a sticker sheet and a instruction manual...the color youll get will be mostly white, dark blue, red a yellow.. and of course clear pink for beam sabers and effects.


Before the parts section, Ive put a lot of effort to build this kit, including some minor detailing like panel lining and painting some parts (because I hate using stickers)... all the painted parts will be stated as the review goes on.
FEET
Solid piece, Ive painted the gray part. no stickers is included here.

LEGS
The ankle guard is in different piece and connected on a ball joint.. double jointed knee... the yellow part on the knee is a plastic (I really thought that will be a sticker. whew!) Ive painted the gray part on the ankle armor and on the knee (which has a sticker, and its suppose to be dark blue).

SKIRTS
some panel lining opportunities here... the front skirt is molded in one piece, but can be separated, can move up and down..side skirts can move up and down and also molded in one plastic (so painted the details) and back skirt is in one solid mold..no articulation on the back skirt


Double jointed elbow...nice details and part separation...it actually has an inner frame.(which will be shown later..
For the shoulder armor.. Ive painted the yellow parts on the front and the back... as well as the gray part on above the shoulder (which is supposed to be dark blue)

BODY
Pretty nice body... ive painted the vulcans on the shoulder yellow.. and the little white detail on the chest...the emblem is a sticker but it sticks very well...
theres a two joint on the stomach..both is connected in a ball joint...but mine is pretty loose on the lower part..once connected on the skirt...
I love the design of the body, especially that emblem..


HEAD
Oh boy... I love the head specially that skull...the skull is one solid piece...have a nice detail on it...you only need to do is to add some details on it..but its not that pretty hard using a gundam marker... also the red stripe on the face..i used a red marker for that...and used an eraser to remove the excess ink...pretty easy to do.. they will give you a choice on what kind of mask you prefer...one with close mask, and one with open mask.. I prefer using the closed one.. but they will give you another eye stickers i you want to swap... :)


INNER FRAME
Like I said... theres actually a inner frame on the arms...and also on the hips...
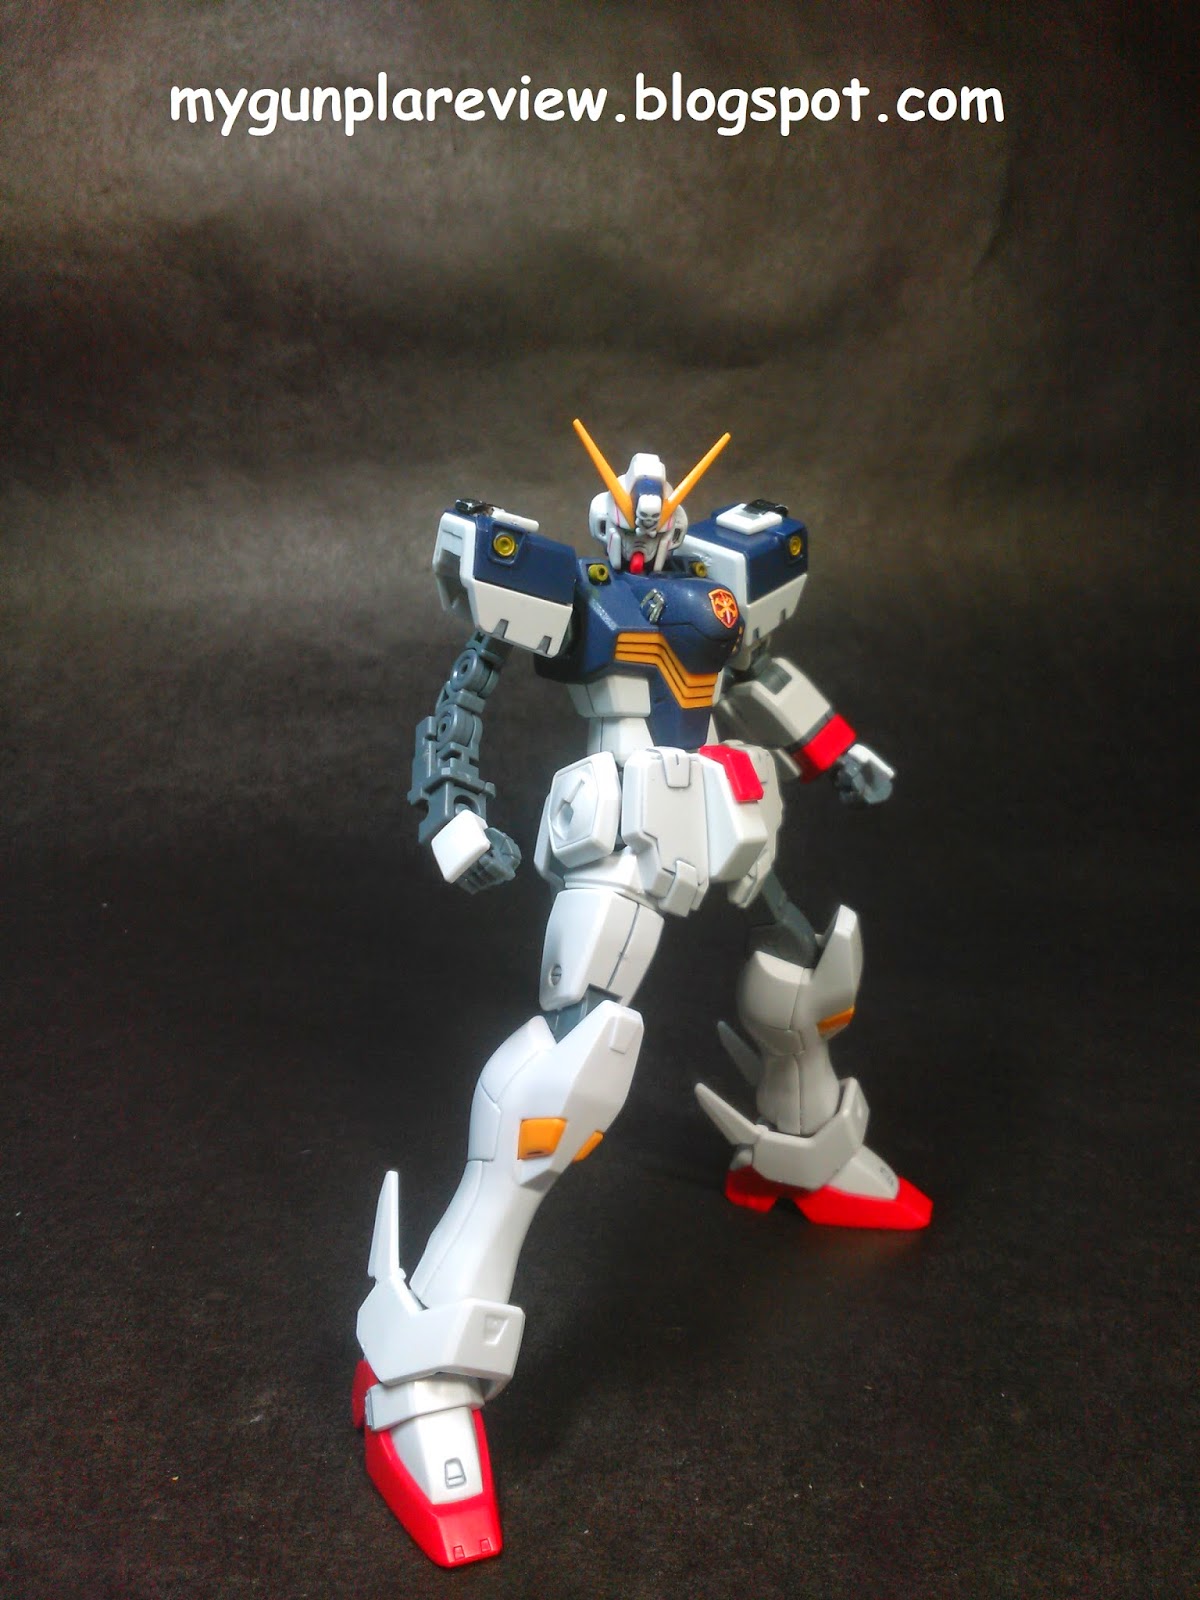

MS
After combining all parts... it has a pretty good articulation... my one complain on the MS itself is the poor connection on the lower stomach... its pretty loose...but a little modification will help that... aside from that...is a nice kit.


CORE FIGHTER and BACKPACK
The core fighter is two plastic combined together...molded in white.. so I decided to paint this (just to practice my painting skills),
the back pack is can also attached to it... every part is connected in a ball joint... so it has pretty nice articulation in it...


and thrusters on the back pack can also be place backward...for more dynamic poses...


WEAPONS:
This guy has a lot of weapons... well first...
the daggers that is attached below its feet. (I dont what its called)


next.. a pair of normal hand daggers... that can be hold using the manipulator hands.

next is a pair of beam sabers...

unfortunately, weapons that mentioned earlier doesnt have a storage in the kit...so be careful not losing thos small weapons...
next.. its main weapon (with the help of wiki... ) the Beam Zanber...
its all white though... so I painted the details gray...

next is the Buster Gun... same with Zanber.. its molded in white...so I painted some of its parts..just to be accurate..


If thats not enough you could combine these two to make the Zunbuster... this can be hold using a special manipulator hand... (for me, once hold, it in a awkward position so Im not going to display it like that... but its pretty good if angled correctly)


and if the two is not in use...you could put in on the side skirts...
Were not done yet though...
next the armor on the arms can be place on the fist to have a some kind of brass knuckles..


and last, with those you can also put the beam shield called Brand Marker


So for weapons.. it has plenty
OVERALL
I love this kit... it is not stickers dependent and has a great articulation. some few panel lining opportunities...but it still good for a HG kit... my only complain is the lower waist joint is pretty loose.. and I did some research if its common to this kit...(well other has the same problem but on the upper waist joint)
for details...well its really up to you if you want to use the sticker...its pretty nice thought... but I rather paint it since its just some small parts...


I really love this kit.. its unique design pretty make it... attractive and..well unique. also posing this kit pretty easy (once the waist is fixed though)... Ill be waiting for its full cloth to be released...
over all...if you like pirates and gundam...this is one kit to buy
well thats all about it and please look forward for another review... Thanks..


